
Tel: 07724005523       Blog          Contact

Categories
recipe

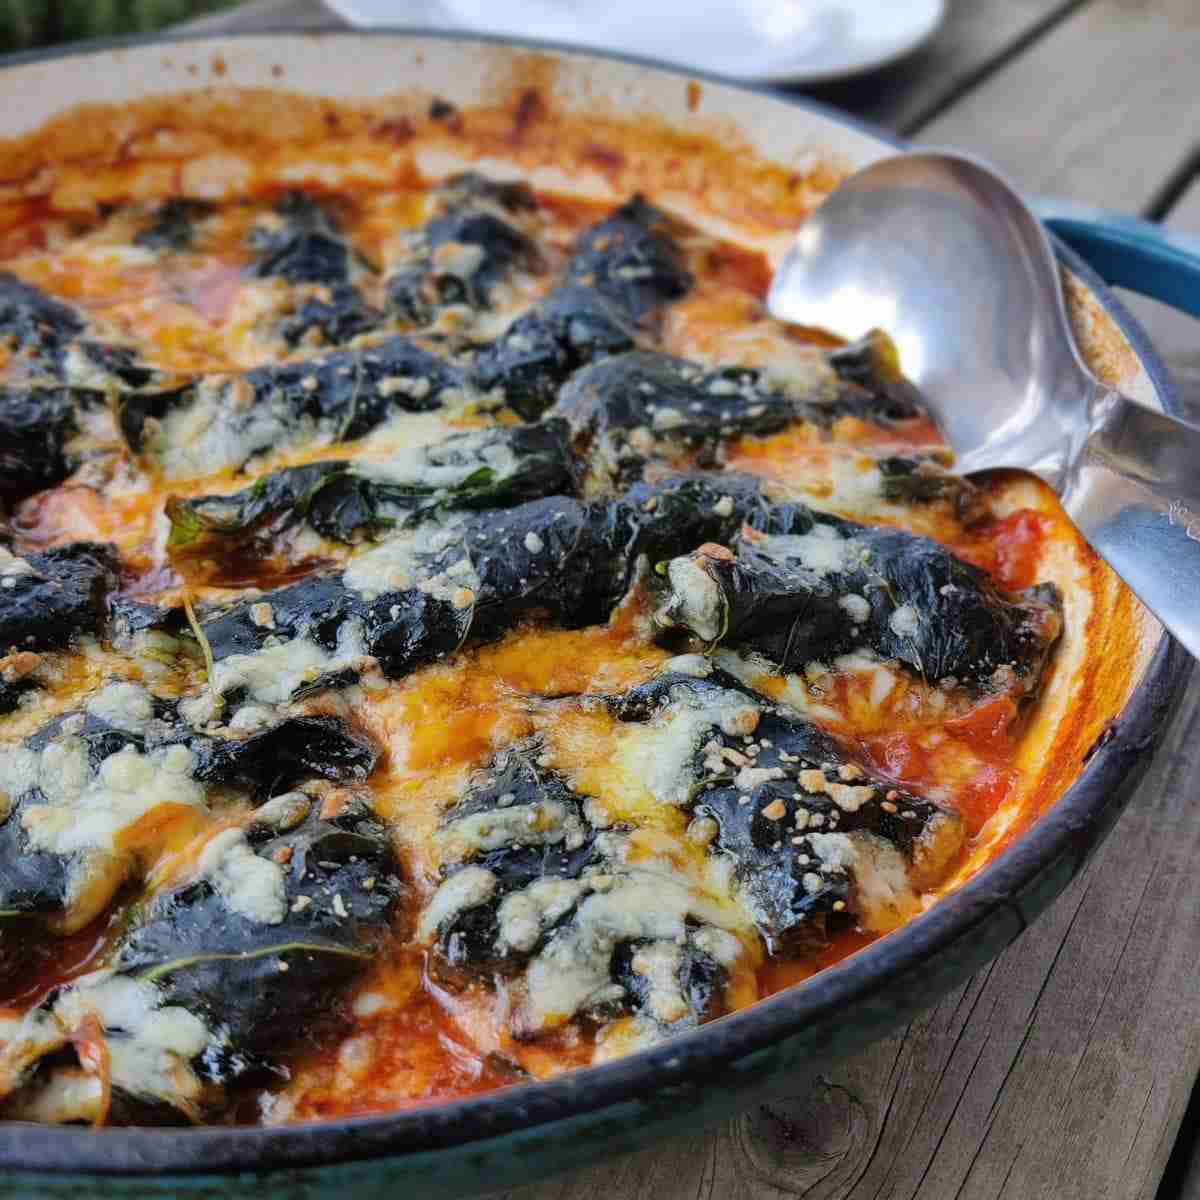
Stuffed cabbage rolls in a rich vermouth and tomato sauce

Stuffed cabbage rolls in a rich vermouth and tomato sauce

This is the first year that I have managed to harvest my cabbages without the slugs and snails going for them first. They are so huge and beautiful, and of course super tasty. Cabbage is a great vegetable to cook with but here's a recipe you're all gonna love "stuffed cabbage rolls in a rich vermouth and tomato sauce".
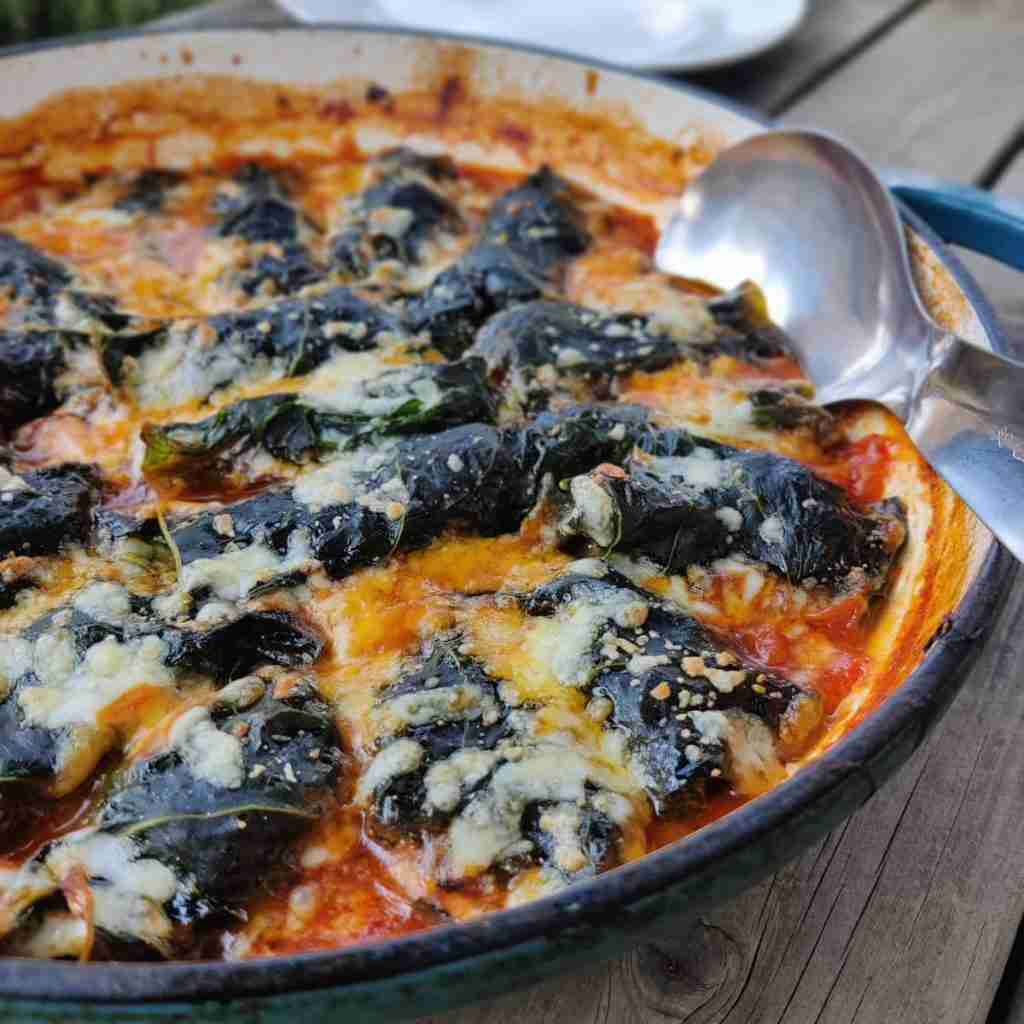
Image with a pan filled with cabbage rolls in a tomato sauce, the recipe can be found at cookery school Gourmandises Academie

Ingredients:

8 large cabbage leaves 

500 g of mince beef

200 g of plain sausage meat 

80 ml of vermouth

One tin of chopped tomatoes

A bit of cheddar

One onion chopped

4 cloves of garlic


Method:

  1. Prepare the cabbage:  I removed 8 large leaves out of the green cabbage I grew in my garden. Because they’re organically grown they were huge, so I could halve them, but you might need a bit more depending on how big your cabbage is. Place the leaves in a large pot of boiling water. Cook for a few minutes until the leaves are tender enough to roll. Drain and set aside.
  2. Make the filling: In a large bowl, combine the mince beef and sausage meat. Season with salt and pepper, I also added some fresh thyme and oregano from the garden.
  3. Assemble the rolls: Place a spoonful or two of the filling onto each cabbage leaf and roll up tightly.
  4. Make the sauce: In a large saucepan, heat two tablespoons of olive oil. Add the chopped onion and garlic, and cook until softened. Pour in the vermouth and let it simmer for a few minutes until reduced. Add the tin of chopped tomatoes and bring to a simmer for a good 20 minutes.
  5. Cook the rolls: Place the stuffed cabbage rolls in the sauce, cover, and bake in an 180º C oven for 30-40 minutes, or until the sauce has thickened. Top with grated cheddar cheese and serve.

Bon Appétit!

Corinne

You can check out my other recipes here 
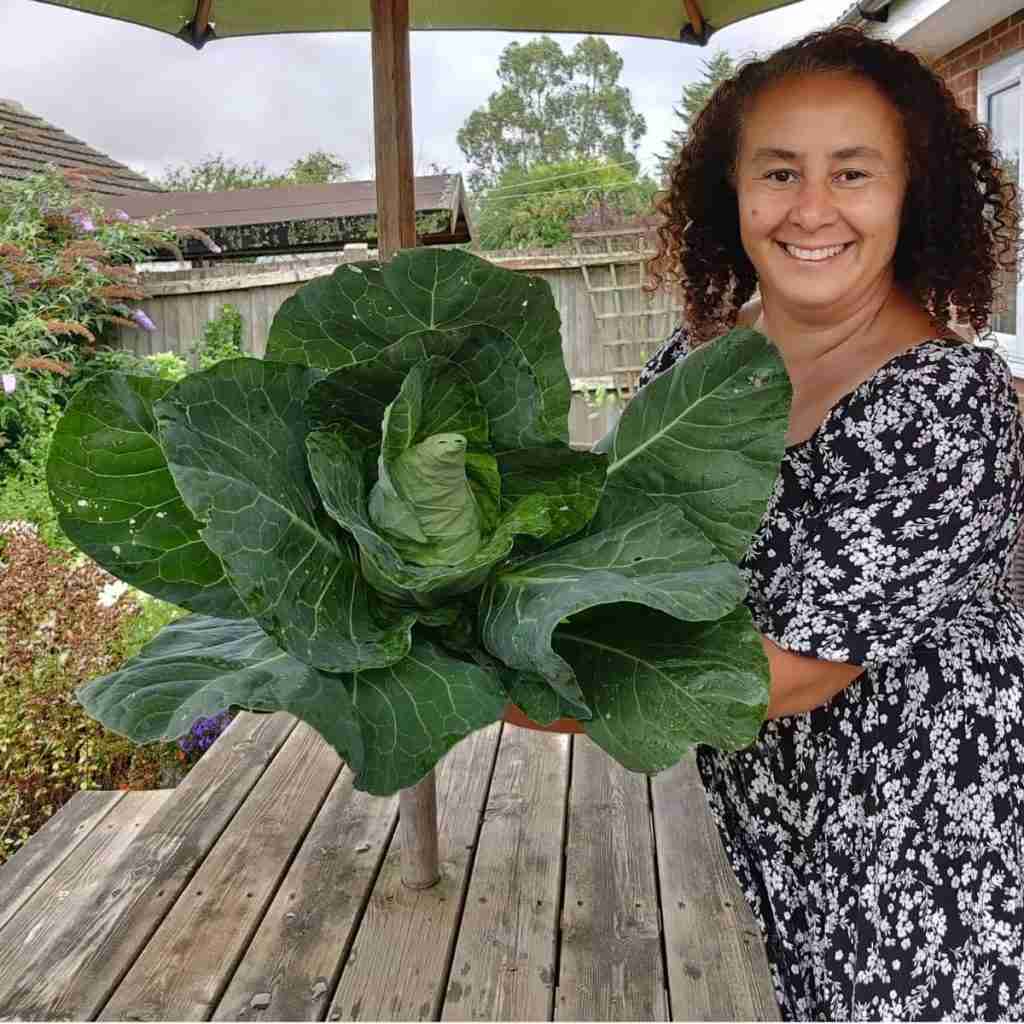
Picture of a lady holding a huge cabbage

Why is my stuffed cabbage tough?

It is really important to pre-cook your cabbage leaves before filling them. This process will soften the leaves and make them easier to roll. It also allows you to halve the cooking time.

Bon appétit!

Categories
recipe

Easy, cherry, almond cake

Easy, cherry, almond cake

This is a cake that I tend to make in winter, but it's been such a cold summer so far in the UK that I found myself looking for comforting treats. As we are in the middle of the cherry season, this recipe is quite fitting too. So here you have it my "easy, cherry, almond cake".

image of a slice of loaf cake with cherries inside, presented on a wooden board, recipe available on the blog of cookery school, Gourmandises Academie, Cambridge

Ingredients:

3 eggs 

175 g unsalted butter (soft)

175 g of sugar (granulated or caster) 

200 g of self raising flour

50 g of ground almonds

150 g of  fresh pitted cherries (can use frozen)

Three TBSP of cherry rum or kirsch

A loaf tin, buttered and lined with parchment paper

Pre-heat your oven at 180º C


Method:

This has to be the easiest recipe ever as everything goes in one bowl. I use my kitchen aid with the whisk for this, you can use an electric whisk too, or do it by hand. Basically, mix all the ingredients together (except the cherries) until it’s nice and fluffy, then gently fold in the cherries. Pour the cake batter into the loaf and bake for 1¼ hours.  

How to stop cherries from sinking in cake?

Before folding in the cherries into your cake batter, toss them into a bit of flour and then add them to your mix.

Bon appétit!

Corinne

Check out my other recipes here 

Bon appétit!

Categories
recipe

Cherry and rum ice cream

Cherry and rum ice cream

We had a glut of cherries this year. We used a net to keep the birds away from the tree and it just worked its magic. But like anything else in the garden, they all come at once. So I have been rather busy in the kitchen making jams, cakes and whatever else to use up those beautiful cherries. So here's a recipe, I'm sure you will all enjoy at this time of year, "cherry and rum ice cream". It's super easy and oh! so delicious!

image with a bowl of ice cream with cherries inside, the recipe can be found on the blog of Gourmandises Academie, Cottenham, UK

Ingredients:

600 g of cherries, pitted (you can use frozen for this)

One tin of condensed milk (397 g tin)

600 ml of double cream

150 g of icing sugar 

Three TBSP of cherry rum (or kirsch)


Method:

If you are using fresh cherries like I did, you are gonna have to remove the stone first.  Once pitted, pass them through a food processor and give them a quick blast, you don’t want them puréed, just roughly crushed.  In a bowl, pour your cream, condensed milk, icing sugar and whisk to a thick consistency. Then fold in your cherries with three TBSP of rum. Pour everything into a Tupperware and freeze overnight. The ice cream comes out soft and creamy like an Italian gelato. Pure joy!

What is cherry rum?

Every country has their own way of fermenting fruits when they come in abundance. In Reunion Island, where I come from, Rum is often flavoured with the glut of the summer, such as pineapples, mango and litchis. I am in the UK, so I do  the same using the fruits we grow here. Cherries are perfect for this, when ripe, put them in a jar with a bit of sugar and cover them with dark rum. Let them infuse for a good six months and use it in cocktails or any of your bakes. That is cherry rum. 

Bon appétit!

Corinne

You can watch the step by step method of this recipe on YouTube

Check out my other recipes here 

Bon appétit!

Categories
recipe

Giant coconut butter cookies recipe

GIANT COCONUT BUTTER COOKIES RECIPE

This is my favorite coconut butter cookie recipe. Why giant though? Because when you make smaller ones, you end-up eating two or three of them in one go, so one big one instead. This is a super easy recipe to make, perfect activity if you have young kids, as everything goes into one bowl.

Image of a selection of cookies dipped in dark chocolate, presented on a white tray with brown borders, you can learn how to make these cookies at cookery school Gourmandises Academie in Cambridge

Ingredients:

1 egg 

190 g unsalted butter (soft)

120 g of icing sugar 

220 g of plain flour

100 g of dark chocolate melted

40 g of desiccated coconut (keep 10 g for the dark chocolate dip at the  end)

Two baking trays with baking parchment

Pre-heat your oven at 180º C

Method:

Make sure your butter is soft before starting this recipe. If not, leave it outside the fridge for a couple of hours. You can  do this in the microwave but be really careful, pop your butter in a bowl and give 3 seconds in your microwave then check the consistency with a spoon, repeat until the butter is soft. 

In a bowl, add your butter and sugar first and mix, then add your flour, coconut and egg and mix again to a smooth consistency. 

Pop the mixture into a piping bag with a star shape nozzle. Don’t put the whole mixture in the bag though, as it will be difficult to pipe. Start with two table spoons at a time and pipe. 

Pop your tray in the oven, for a good 20 to 25 minutes, until golden brown. Melt your dark chocolate in the microwave or over a bain-marie and add 10 g of coconut to it. Once your cookies are cold, dip them in the dark chocolate and let them set on a baking tray laid with baking parchment.

Can you use coconut butter instead of butter in cookies?

For baking, coconut butter can easily replace actual butter, and in this recipe it can work well, as it would add a stronger coconut flavour to the cookie. But, I would still use butter, so, in this recipe, maybe 50 g of coconut butter and 140 g of unsalted butter.

Bon appétit!

Corinne

You can watch the step by step method of this recipe on YouTube

Check out my other recipes here 

Bon appétit!

Categories
recipe

Tiger prawns and mussels cari

Tiger prawns and mussels cari

This recipe is very similar to the way we cook fish in Reunion Island. There aren't any mussels in this part of the world, but the sauce works really well with shellfish. It's rather easy to make too. And quite an impressive dish to serve at a dinner party.

Picture of a tiger prawns and mussel cari, still in the pan, with parsley on top, the recipe is available on the blog of the cookery school Gourmandises Academie, Cambridge

Ingredients:


 1 kg of mussels

8 whole tiger prawns

A tin of chopped tomatoes

One chopped onion

4 cloves of garlic

Ginger, the size of a tsp

A bit of chopped parsley

Vegetable oil

Fresh thyme


Method:

Start by removing the heads of the tiger prawns. In a pan, add three tbsp of vegetable oil, and  add the heads. As soon as they start colouring, add the onion and the thyme. Crush the garlic and ginger into a paste and add to the pan. Once your garlic is cooked add a tin of chopped tomatoes. Turn the heat down and let the sauce simmer for 30 minutes, stirring every now and then, add a bit water if the sauce starts drying out. After 30 minutes, add the prawns tails, once they start colouring throw in the mussels. Lid on and let everything cook for 5 minutes.  Add some fresh parsley before serving.

Bon appétit!

Corinne

You can watch the step by step method of this recipe on YouTube

As it is courgettes season, you might also want to check out my chocolate courgettes cake

Categories
recipe

Moules marinières à la créole

Moules marinières à la créole

I was told once, that the best recipes often come from mistakes or lack of ingredients, Tarte Tatin is one of them. "Moules marinières à la créole" is most definitely one of those too. I know what you're thinking, how can "moules marinières" be creole? Well, let me tell you how. I love mussels. I tend to cook them the same way we cook fish in Reunion Island, i.e in a rich tomato sauce flavoured with thyme, ginger, lost of garlic and turmeric. So, here I am in the kitchen prepping everything for my creole mussels. The pan is on the stove, I add the oil, fry my onions, then go and look for the tin of tomato, and I haven't got one! Damn it! I had everything prepped for it, what do I do now? Plan B, what do I have in my fridge that I could accommodate with those ingredients? A bottle of white wine and a little bit of tomato puree... So, my onions are now cooked so let's rustle up something new then...

Picture of mussels cooked and opened in the pot, you can learn how to make this dish on the blog of the cookery school Gourmandises Academie, Cambridge

Ingredients:


1 kg of fresh mussels 

Ginger, the size of a TBSP

5 cloves of garlic

Half bottle of white wine

Fresh thyme

A little bit of turmeric

A TBSP of tomato puree

Double cream

One onion

Three TBSP of vegetable oil

You will need a deep pan for this.


Method:

First thing first, clean your mussels. I plunge them in cold water and scrub off the barnacles and hairy beard that are on the shells. Discard of the ones that are open still. In a pan, add your vegetable oil and onions and fry until the onions are translucent. Crush your garlic and ginger into a paste and add to the pan, stir and cook for a minute, add a little bit of turmeric at this point, not too much, less than a 1/4 of a tsp. Then add your white wine, the fresh thyme and the tomato puree. Stir everything and let your sauce simmer for about 15 minutes. Add your mussels and a little bit of double cream, lid on and let them cook for a good five minutes until they’re all opened. Et voilà! I didn’t think that turmeric, ginger and garlic would work with white wine, but it absolutely does! I hope you give it a go, well worth it!

Bon appétit!

Corinne

If you enjoy shell fish you might like to try “Lobster tail in a rich tomato and turmeric sauce”. 

Categories
recipe

Le cari de poisson de papa

Le cari de poisson de papa

Making the most of my 79 year old dad right now in Reunion, and most importantly his culinary knowledge. This is a classic of Reunion cuisine and so easy to make too. My father used a tropical fish called "poisson ananas" that we find here in Reunion island. But you can use bass or cod that are quite meaty and will hold their shape in the broth.

Ingredients:

This recipe will serve 4 people

Two big whole sea bass, (ask your fish monger to cut the fish into big chunks, keeping the head)

One whole garlic

Chillies (depending on your taste buds as much or as little as you like) 

One whole onion

1/2 tsp turmeric

Ginger (the size of a table spoon) 

Fresh Thyme

A tin of chopped tomatoes 

Vegetable oil

Method:

First, crush your garlic, ginger and chilli into a paste. In a pan, add a tbsp of vegetable oil (not olive oil, it doesn’t work with this recipe). Start by adding your onions and thyme, stir until the onions become translucent. Then add your garlic, your ginger and your chilli paste and stir again for a minute then add your turmeric and your tomatoes. Stir and let this lovely sauce simmer for 30 minutes, then add your fish chunks including the head (it gives flavour to the fish stew) and simmer for another 10 minutes, stirring after 5. That’s it. Before serving, remove the heads, then add some chopped fresh parsley. In Reunion, we tend to serve it with plain Basmati rice. Delicious! Et voilà!

Bon appétit!

Corinne

You can watch my dad making his cari on YouTube

Categories
recipe

Basquaise style chicken

Basquaise style chicken

Basquaise style chicken, is so easy to make and so comforting too. "Poulet Basquaise" is a classic of the Basque region. The key ingredient is "Espelette chilli", but as it's not always easy to find in the UK, I have replaced it with paprika, which is very similar. This dish is also perfect for entertaining, its velvety sauce at the end is always a hit.

picture of a blue casserole dish on top of a towel with red stripes, with pieces of chicken, red and green peppers in a tomato sauce, the recipe is available on the blog of the cookery school Gourmandises Academie, Cambridge

Ingredients:

3 chicken thighs (chicken legs work well too)

Two peppers (green and red for contrast)

A glass of white wine

One onion (thinly sliced)

5 cloves of garlic (crushed and sliced)

Fresh thyme

A table spoon of tomato paste

Method:

I use a cast iron pan, but any heavy base pan will do. Season your thighs with salt and pepper first. Then, brown the chicken on both sides,  in a little bit of olive oil. Take the meat out of the pan. Then add the thyme and the onion. Once the onion has reached that translucent colour, add the garlic and stir. Slice the peppers into strips and add them to the pan, give them a good stir again. Add the tomato puree, a glass of wine and a sprinkle of paprika. Put the chicken thighs back on top, cover, reduce the heat and let it simmer for a good 45 minutes, giving it a stir now and then. The dish is ready once the peppers are soft and the sauce velvety. I serve my poulet basquaise with rice.   

Bon appétit!

Corinne

You can watch the step by step method of this recipe on YouTube

If you enjoy peppers you may want to give my padrón peppers recipe a go.

Categories
recipe

Duck confit

Duck confit

Duck confit or confit de canard is something I really miss from France. It's so versatile and can be used in so many ways all year round, in a super comforting cassoulet or to accompany a simple salade verte in the summer. So I thought I would show you how to make it. It's not really difficult, you just need a little bit of patience as it will take you a good two days to get together. But the result is so worth it. So I do hope you give it a go.

picture of a terrine dish with a cloth around it, filled with goose fat and bits of meat appearing on the surface, you can learn how to make this confit on the blog of cooking school Gourmandises Academie

Ingredients:

4 duck legs 

Sea salt

Bay leaves

Thyme

Garlic

Black pepper corns

750 g of duck fat

A glass of water

Method:

This recipe happens over two days.

On day one, place your duck legs on a tray and add your garlic, pepper corns and your herbs, as much or as little depending on your taste. Rub your duck legs generously with salt. Cover the tray with cling film and leave it to rest in the fridge for 24 hours.

On day two. Slowly melt your duck fat in a pan, be careful not to bring it to the boil. Rinse your duck legs thoroughly under a cold tap to get rid of the salt. Put them in a pan with the herbs, pepper corns and garlic and pour the melted duck fat over them, don’t forget to add a glass of water also (the water prevents the legs from sticking and burning at the bottom of the pan). Cook them on a very low heat for a good 3 hours, until the meat is nice and tender, almost falling off the bone. At that stage, I transfer the legs in a smaller container, like a terrine and cover them with the duck fat. The confit will keep in the fridge, for a good month or more if totally covered with fat. You can use them in a cassoulet, or lightly fry them in a pan and eat them with sautéed potatoes or even a green salad. 

Bon appétit!

Corinne

You can watch the step by step method of this recipe on YouTube, part one and part two.

This is the season for comfort food, here’s another recipe you might like to try, chicken parcels.

Categories
recipe

Marmelade d’oranges amères 

Marmelade d'oranges amères 

As always, there is nothing quite like home made! I love marmalade, especially on a good chunk of freshly baked brioche with salted butter. Although it is a bit of a process to make, I urge you to give it a go. You won't regret it! It's actually not difficult to achieve, you just need to arm yourself with a bit of patience. It's like liquid gold in a jar!

picture of a small glazed green terracota pot with orange marmalade inside and 5 jars of marmalade, recipe is available on the blog of cookery school Gourmandises Academie, Cambridge

Ingredients:


1 kg of Seville oranges 

2.5 litres of water

The juice of one lemon

1 kg of sugar

A bit of muslin

Steralized jars

Method:

Cut your oranges in half and squeeze out all of the juices. You will end up with quite a lot of pip and flesh from the oranges, place them in the muslin bag and tie it with a string.  

Cut the orange peels in half and using a sharp knife cut them into shreds, I like quite chunky shreds, but you may choose to cut finer ones, it’s up to you. In a large pan, add the water, orange juice, the peel and the muslin bag. Bring the pan to a boil, reduce the heat and let everything simmer for a good two hours or more. Your peel needs to be soft when squeezed between your fingers.  

Once your peel is soft, take the pan off the heat, add the lemon juice as well as the sugar, squeeze out all the goodness from the muslin bag into the pan too. Give it a good stir to mix the sugar. At this point, I actually leave it overnight, so the sugar properly dissolve and flavours develop. The next day, bring the pan to the boil stirring now and then to make sure that nothing sticks to the bottom. There will be a point when your marmalade will start boiling fiercely. Place a small plate in the freezer, and let everything boil fiercely for an extra 10 minutes or so. At that point, take the pan off the heat, take your plate out of the freezer, and put a little bit of your marmalade on it. Place the plate back in the freezer for a minute, take it out and roll your finger against the jam, if it crinkles, your jam is ready, if not let it boil for another five minutes and test again.

Pour your jam into steralized jars straight away.

Bon appétit!

Corinne

For regular, instant updates, follow me on Instagram.

For more recipes like this, take a look at my other blog posts here.