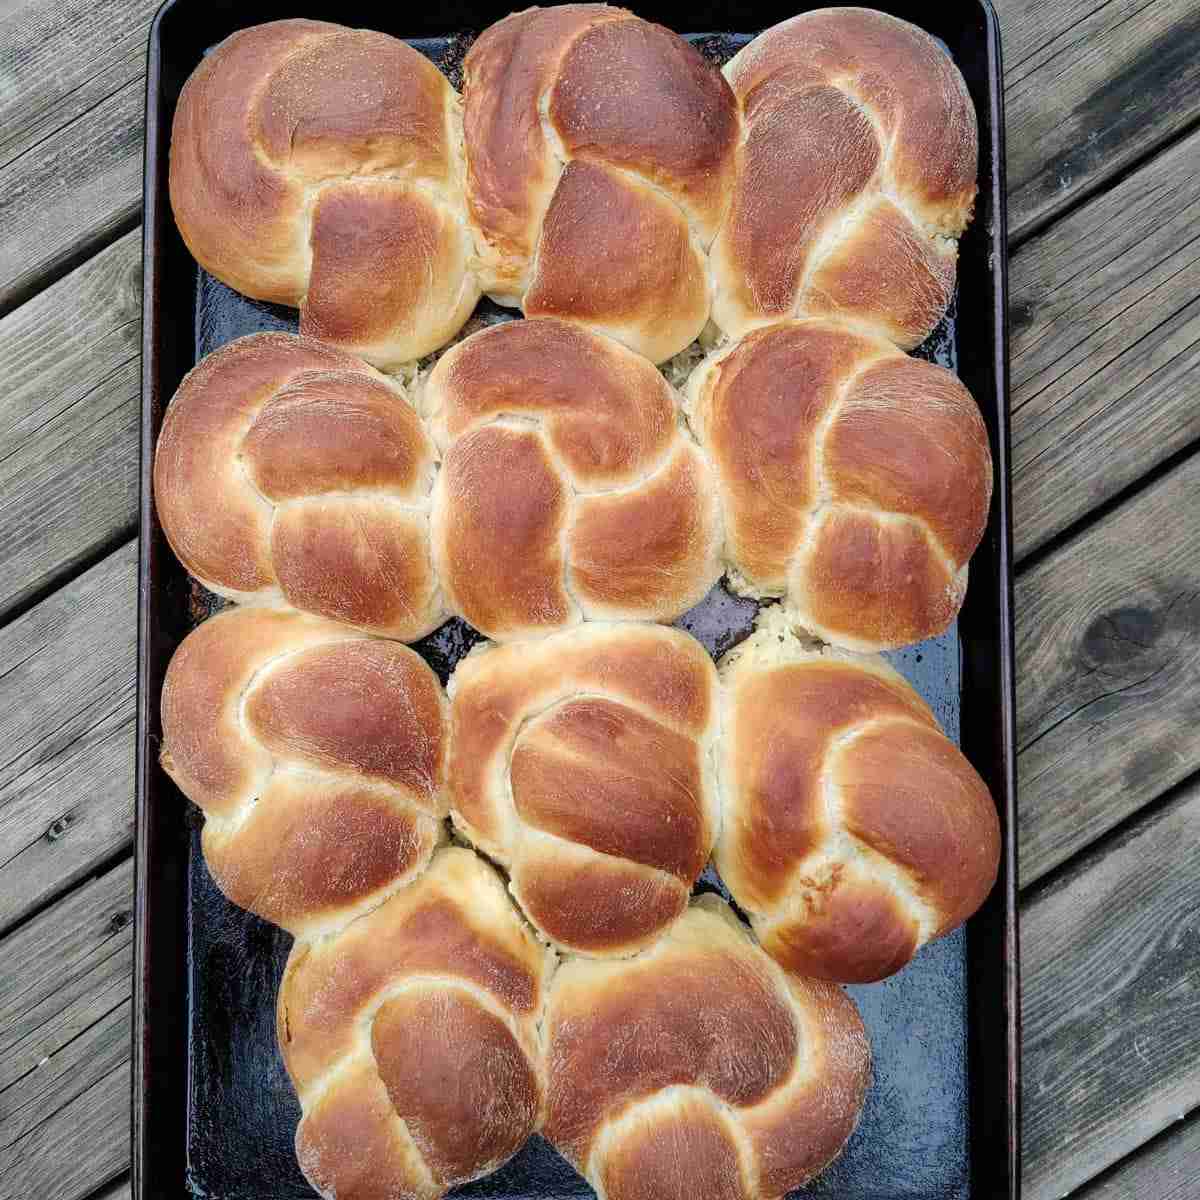
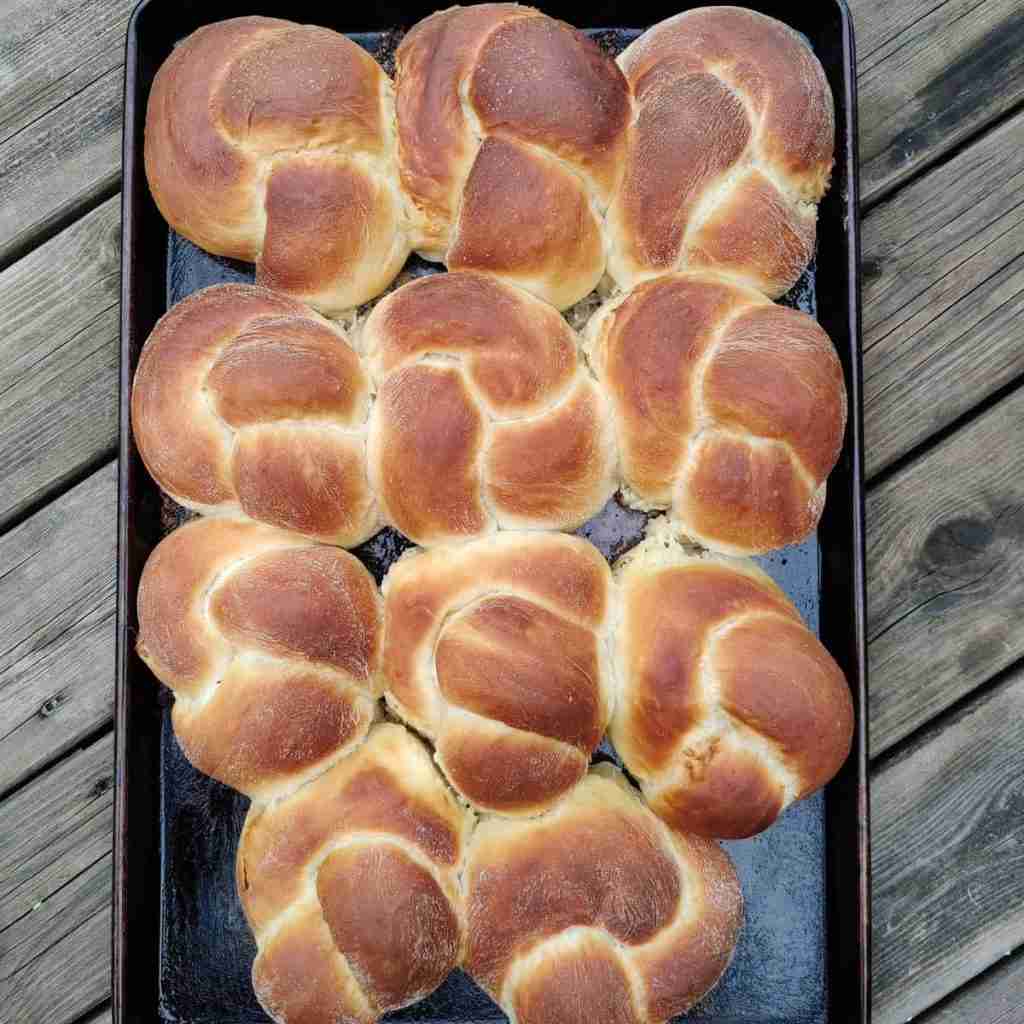
Pao de coco, coconut buns
This is a little delicacy that I discovered in a recent trip to Cape Verde. It's a little sweet bun filled with sugared coconut butter. It's fluffy inside and extremely moreish. I had it with a coffee in the little village of Picos on the Island of Santiago in Cape Verde. It was so good that I had to give it a try when I got back home. It's now a family favourite, so here you have it my version of "Pao de coco, coconut buns"
Ingredients:
2 eggs
40 g unsalted butter (cut into cubes)
50 g of caster sugar
50 g ground almonds
500 g of bread flour
140 ml of lukewarm milk
140 ml of warm water
8 g of salt
10 g of fast action yeast
A large bowl greased
A large baking tray, greased
For the filling:
80 g of desiccated coconut
150 g of unsalted butter, softened
3 TBSP of caster sugar
Method:
I make the dough in my KitchenAid, if you are kneading by hand, follow the same method. I start by putting my yeast at the bottom of my bowl. Then I add my flour on top, sugar, salt, eggs, butter, water and milk. Then mix for 5 minutes at low speed 1, then at speed 4 until you get a soft dough. If you’re kneading by hand, knead until the dough is shiny and soft.
Cover your dough with a cloth, leave it in a warm place and let it proof until it doubles in size.
Once your dough has doubled in size, stick it in the fridge for 30 minutes to firm up, it’s easier to divide that way. In the meantime, prepare your filling. In a bowl, mix your sugar, coconut and butter to a fluffy paste. Then divide your dough into 12 equal pieces. Roll each piece into a square and spread a bit of coconut butter in the middle (use a knife to spread evenly). Then fold each square and roll into a sausage. Shape each sausage into a knot shape and place on your greased baking tray. Cover your tray with cling film that you have greased first and live the knots to double in size. Once doubled, stick your tray in a 180º C oven and cook for 10 to 15 minutes until your buns are golden brown on top. The coconut butter will be oozing out when they come out of the oven, I brush this lovely scented oil back on top of the buns. Heaven!
They are delicious eaten warm. You can also freeze them to enjoy later. If you do freeze them, let them out the night before to defrost, and warm them up in the oven for 5 minutes and enjoy for breakfast.
If you are a sourdough baker, you can also add a bit of starter dough to your mix, so instead of using 10 g of fast action yeast, only use 5 g and add 120 g of starter. Your buns will be even fluffier.