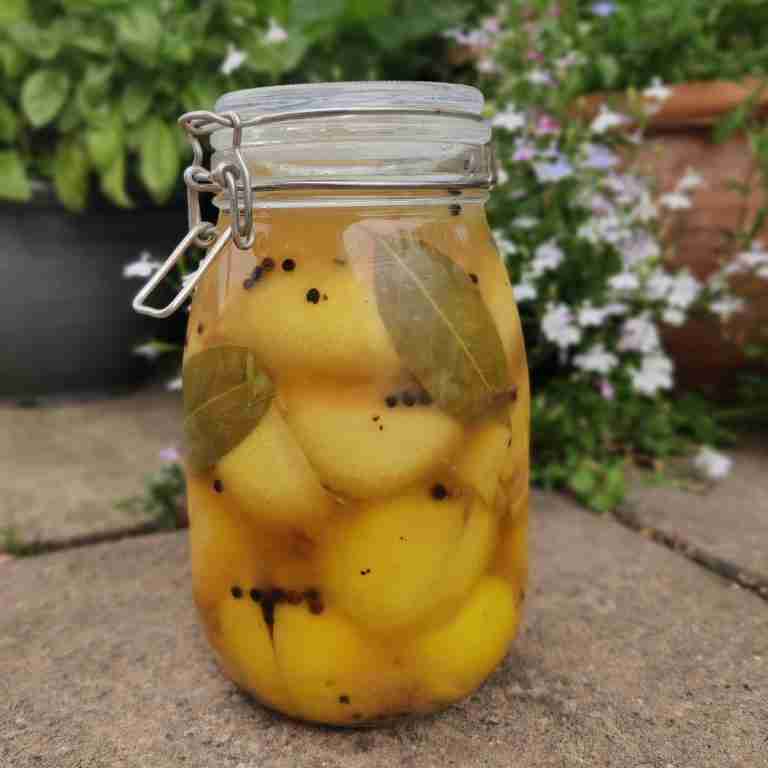
Maroccan preserved lemons
I am a huge fan of North African cuisine especially Tagine. I spent my childhood in the South of France and had a lot of friends from that part of the world. Moroccan preserved lemons are a key element of a tagine. They are a wonderfully tangy, salty, and aromatic ingredient that adds a unique depth of flavor to many dishes, especially lamb. The recipe itself is dead easy, but requires patience as the lemons need time to cure. It's summer in a jar!
Ingredients:
6-8 unwaxed lemons (or as many as fit snugly in your jar)
1/2 cup coarse sea salt preferably, but table salt is fine too
A few extra lemons for juicing (if needed)
Bay leaves and whole black peppercorns, you don’t have to add them but they do add a depth of flavour to the cured lemons.
- You will also need a glass jar with a tight lid, I went for a Kilner type jar. You will need to sterilize it.
Method:
Wash the lemons.
Trim a thin slice off both ends of each lemon to create a flat surface.
Stand each lemon upright. Cut a deep cross into each one from the top, going about 3/4 of the way down towards the base, so the four quarters remain attached at the bottom.
Salt the lemons:
Open up each lemon gently along the cuts.
Generously stuff the inside of each lemon with coarse salt. Don’t be shy – this is key to the preservation process. You’ll likely use about 1 tablespoon of salt per lemon.
Pack the jar:
Sprinkle a tablespoon or two of salt at the bottom of your sterilized jar.
Begin packing the salted lemons tightly into the jar. Press them down firmly with a spoon. This is crucial for releasing their juices and ensuring they are submerged. The tighter you pack them, the more juice will be released.
If you’re using bay leaves and peppercorns, add them in layers as you pack the lemons.
Add lemon juice (if needed): As you pack, the lemons will release their own juice. The goal is for the lemons to be completely submerged in liquid. If, after packing all the lemons tightly, they are not fully covered, squeeze the juice from an additional 1-2 fresh lemons and add it to the jar until the lemons are totally submerged.
Seal and cure:
Seal the jar tightly with the lid.
Store the jar in a cool, dark place (like a pantry or cabinet) at room temperature for a good two days, then refrigerate.
Patience is key: The lemons need to cure for at least 3-4 weeks, but ideally 1 month or longer. The longer they cure, the more mellow and complex their flavour will become, and the rinds will soften to a jelly-like texture.
Storage: They will keep for at least 6 months, and often up to a year or more, as long as they remain submerged in their brine.
What can preserved lemons be used for?
Preserved lemons are a key element of any tagine, especially lamb. But, they can also be used in stews, salads, dressings, and even with roasted chicken or fish. They are just a beautiful ingredient to add to your pantry.